
Cross-back apron project journal
For my very first ever independent sewing project, I decided to create a smock/apron thing that I could wear in the kitchen or when doing art projects.

For my very first ever independent sewing project, I decided to create a smock/apron thing that I could wear in the kitchen or when doing art projects. I decided I was not going to follow a pattern but just sort of … make it up as I go along, inspired by one of my friend’s aprons that I frequently see her wearing that I really like. So I basically had a very vague three-dimensional mental image, which I sketched out in a journal. The idea is that I would keep it simple and create three rectangles — one big, two small — and took some really rough body measurements to estimate how big I needed to cut the biggest rectangle. I didn’t have much linen at all to start with, so I figured I would make the straps (two small, thin rectangles) out of whatever was left over of cutting the main linen rectangle.
As you can tell from the notes in my journal on April …15? 16?, there was also an idea to make a cotton lining, but apparently this really pretty blue-green cotton I had on hand shrinks like WOAH even when you wash it in cold water, so I figured the linen was thick enough, and I’d keep the cotton for a different project.
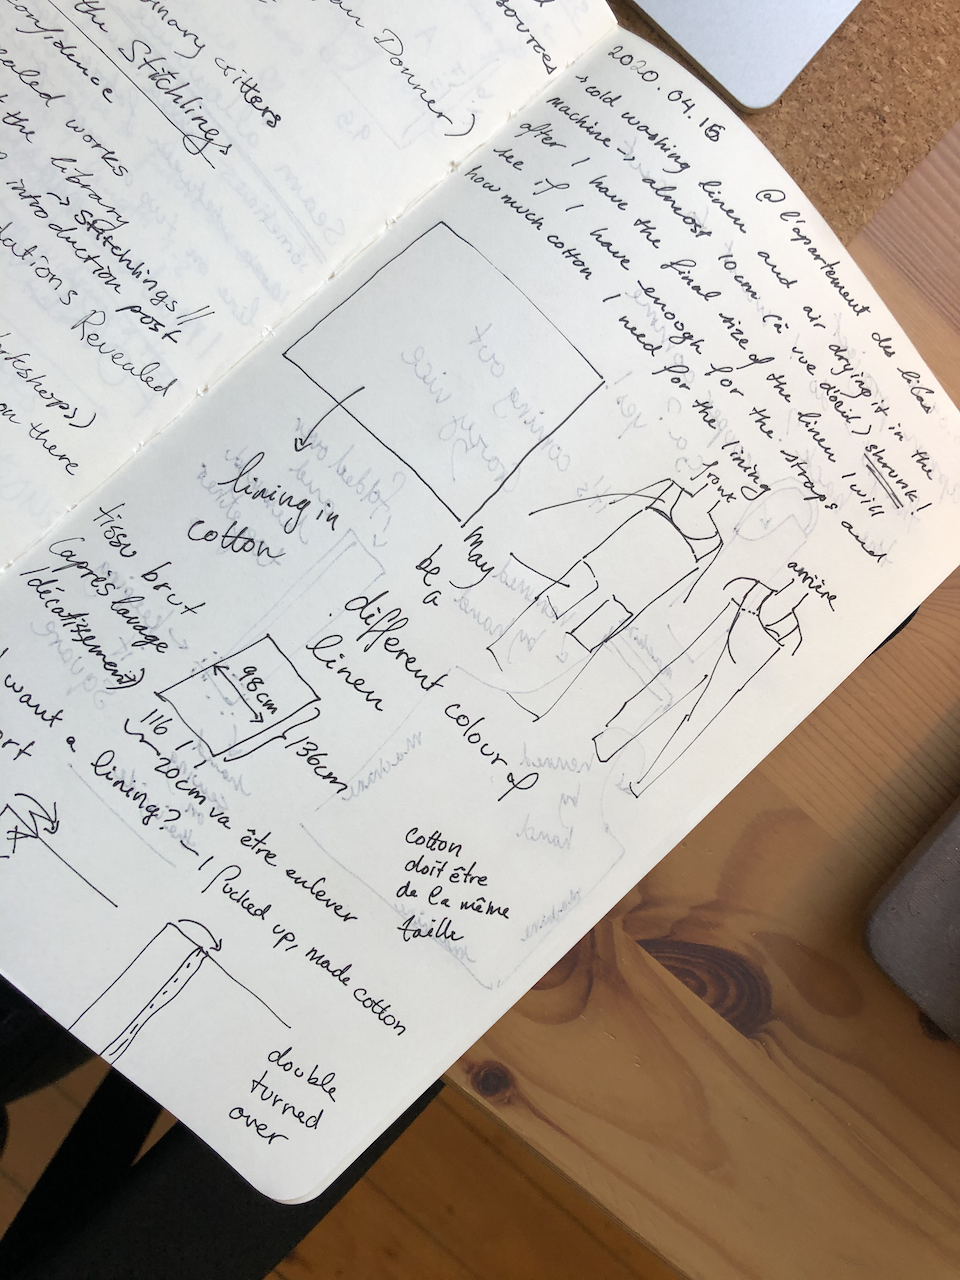
(Note to self, once I get through this current notebook I’ve repurposed for textile/crochet projects, I need a dotted or graph paper one. Possibly a bigger one, too, though I like how portable this little one is.)
Some observations from the first few hours of the project:
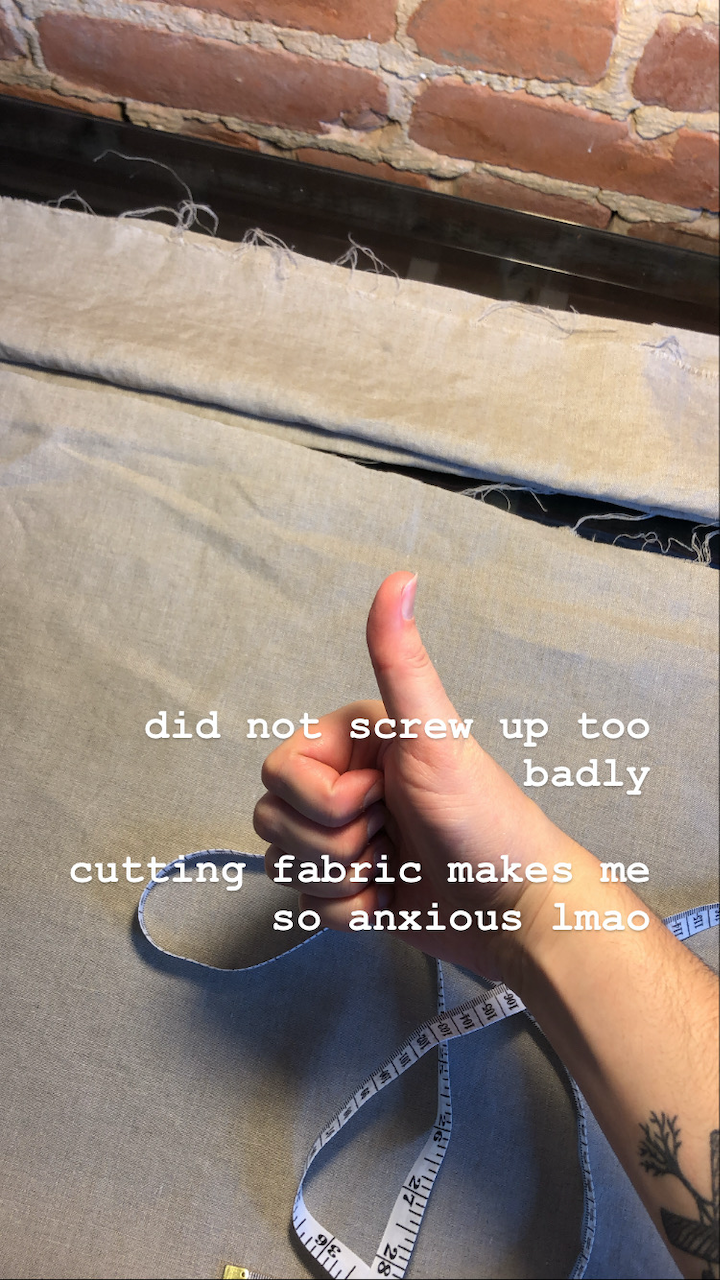
- Cutting into the fabric for the first time was basically terrifying because if I screwed up it would mean the end of the project because I have no back-up fabric.
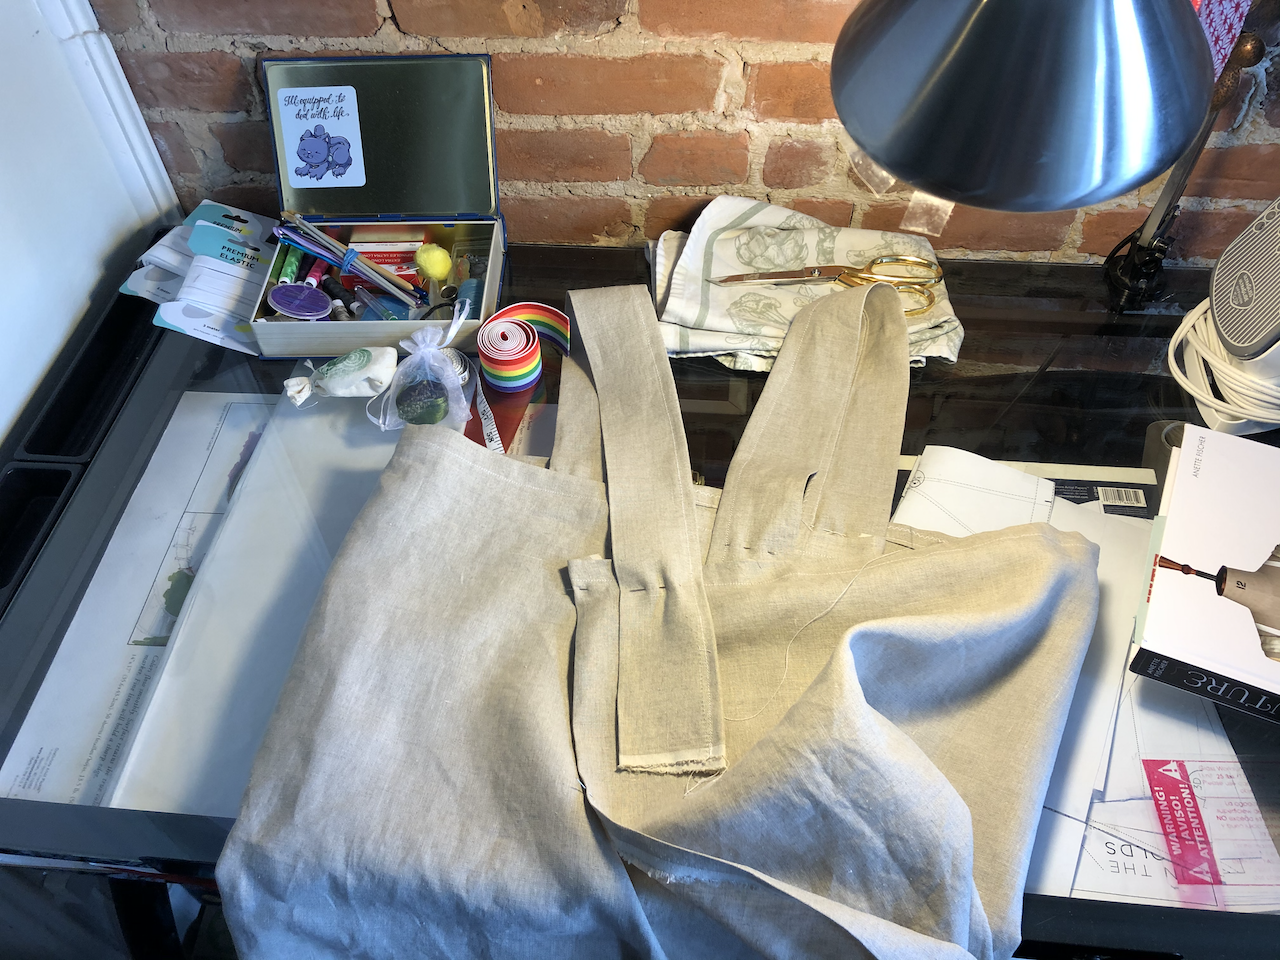
- I was using my drafting table for all measuring/cutting but despite its rather satisfactory dimensions for most of my painting/illustration/drafting needs, it was not made for working with textiles in mind (not to mention it’s roughly 60 cm by 98 cm, which means if I’m ever working with something longer than a metre where I need to make real precise measurements/trace out a pattern it’s going to be a real headache).
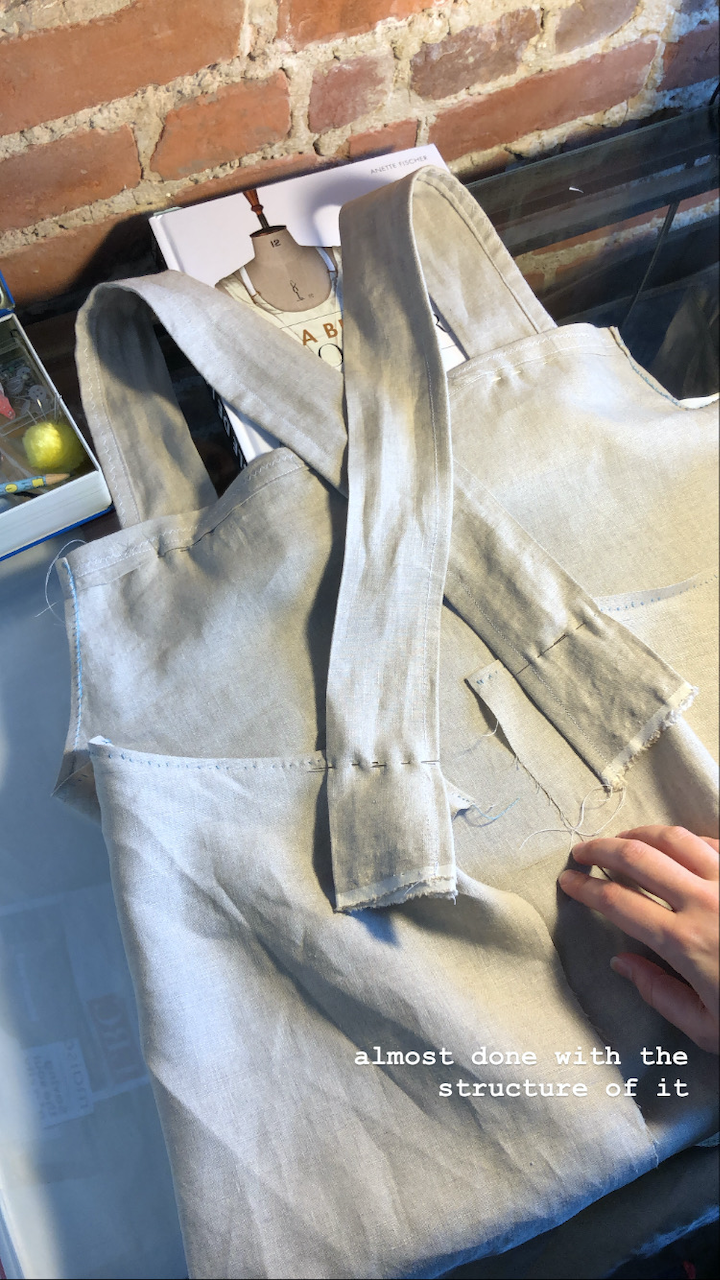
- Once I put all the little pins in and was able to figure out how to put it on the first time, I ended up resizing a lot from just having the rectangles draped over my body. This was challenging but in a good way, as I basically had no idea what I was doing, I am not in possession of a full-length mirror anywhere in my house, and so was awkwardly relying on selfies taken from unflattering angles (and occasionally roped Leif into helping me out).
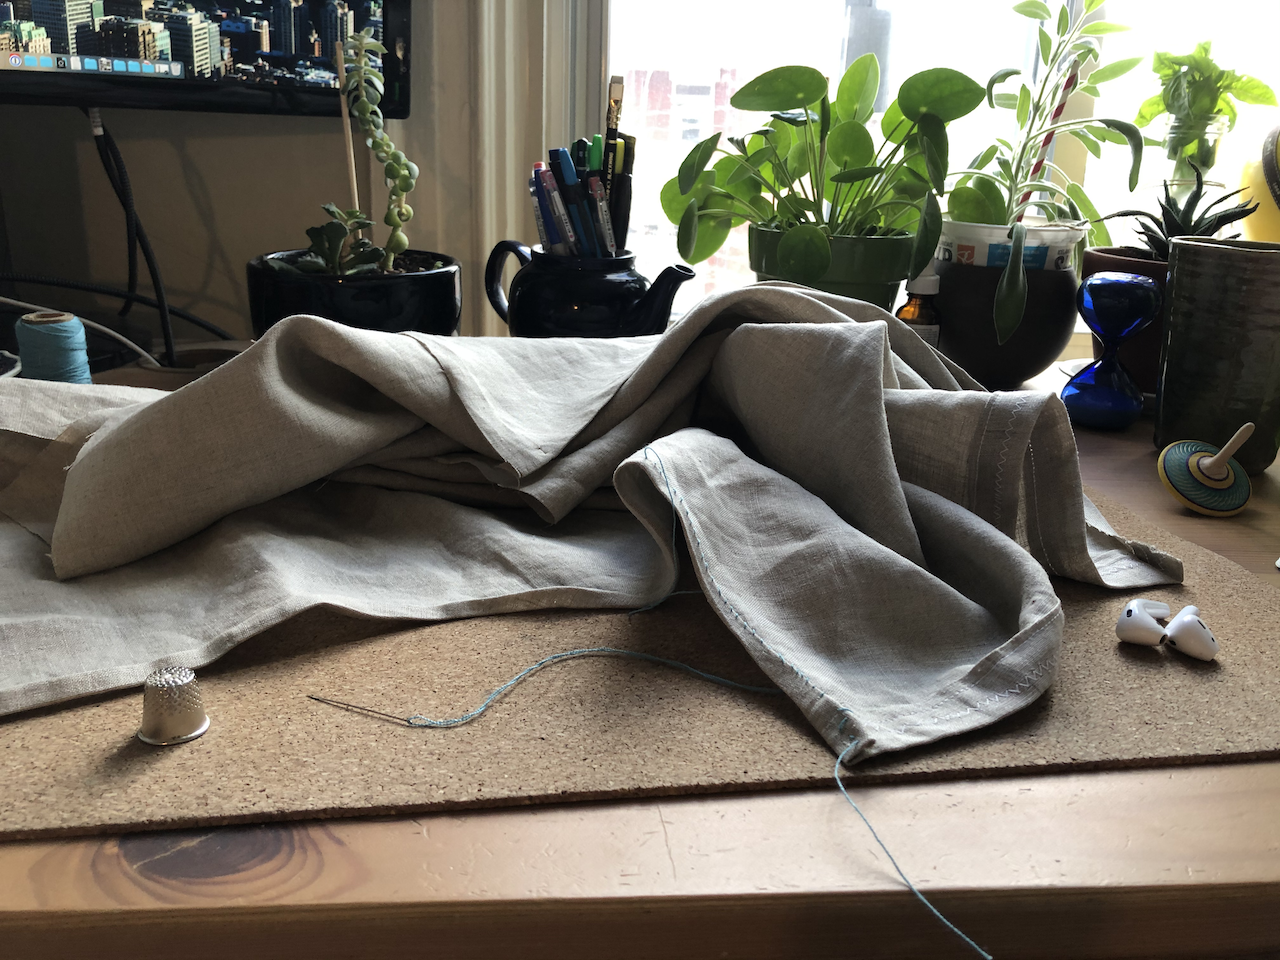
- Also, about halfway-through the project, I discovered pad stitching (or temporary stitching, not even sure what the term is) and was kicking my self because honestly using pins and continuously pricking myself on the pins holding the hems folded in as I tried to figure out how the cross-back should work was incredibly silly.
By the time I actually took my sewing machine out, I had a fairly nebulous idea of what I needed to do even if I didn’t actually know how to do it, or even the vocabulary for it. I started with the top side of the rectangle, googled “how to sew a hem with a sewing machine”, and got started.
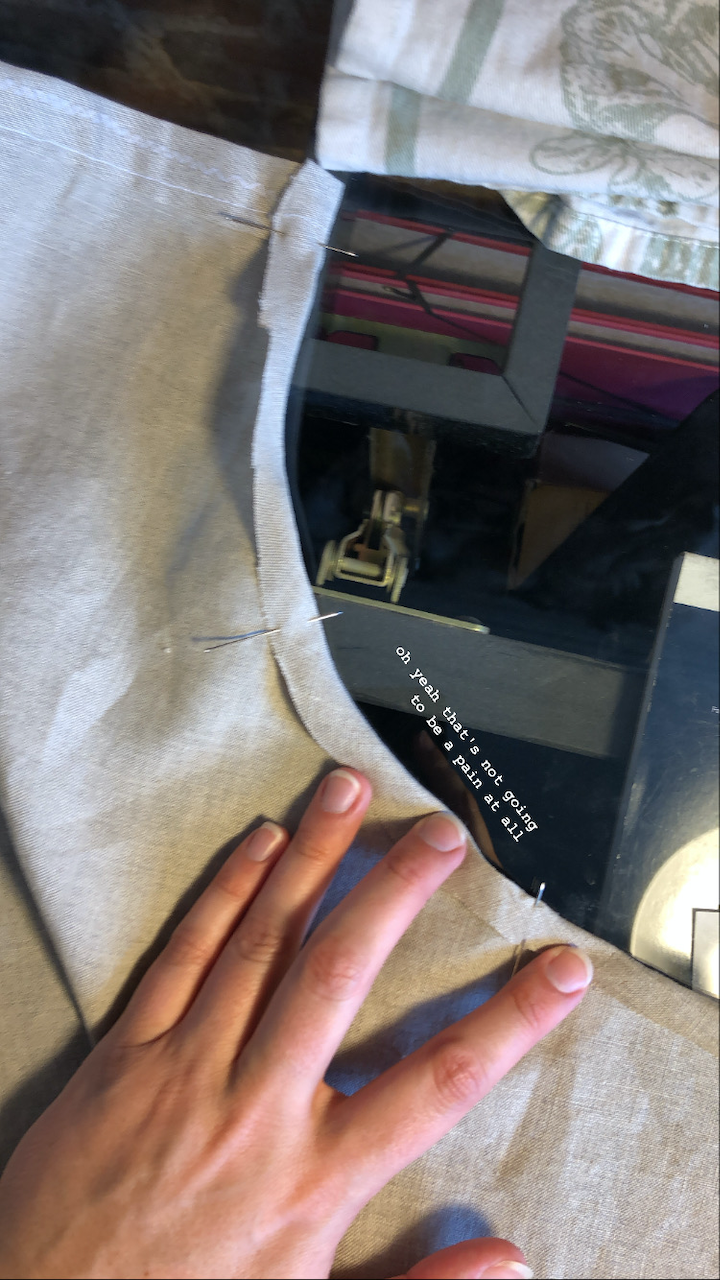
By the time I had done most of the hems I realized I was unsatisfied with the boxy shape and I decided that maybe I would cut into the rectangle to give it more of an apron look. I compared against one of Leif’s aprons and did some rough measurements on my body to figure out where I would cut.
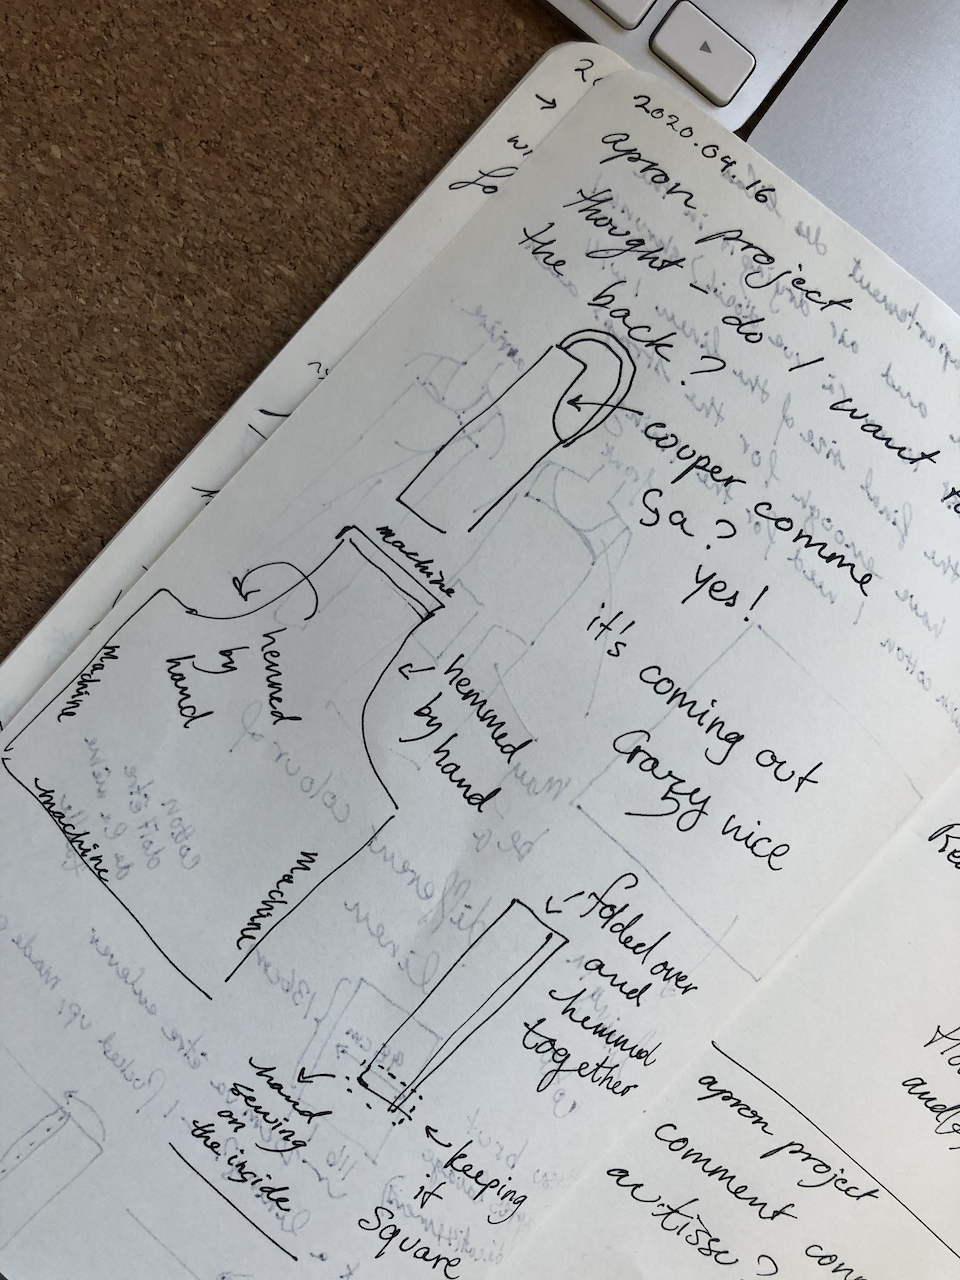
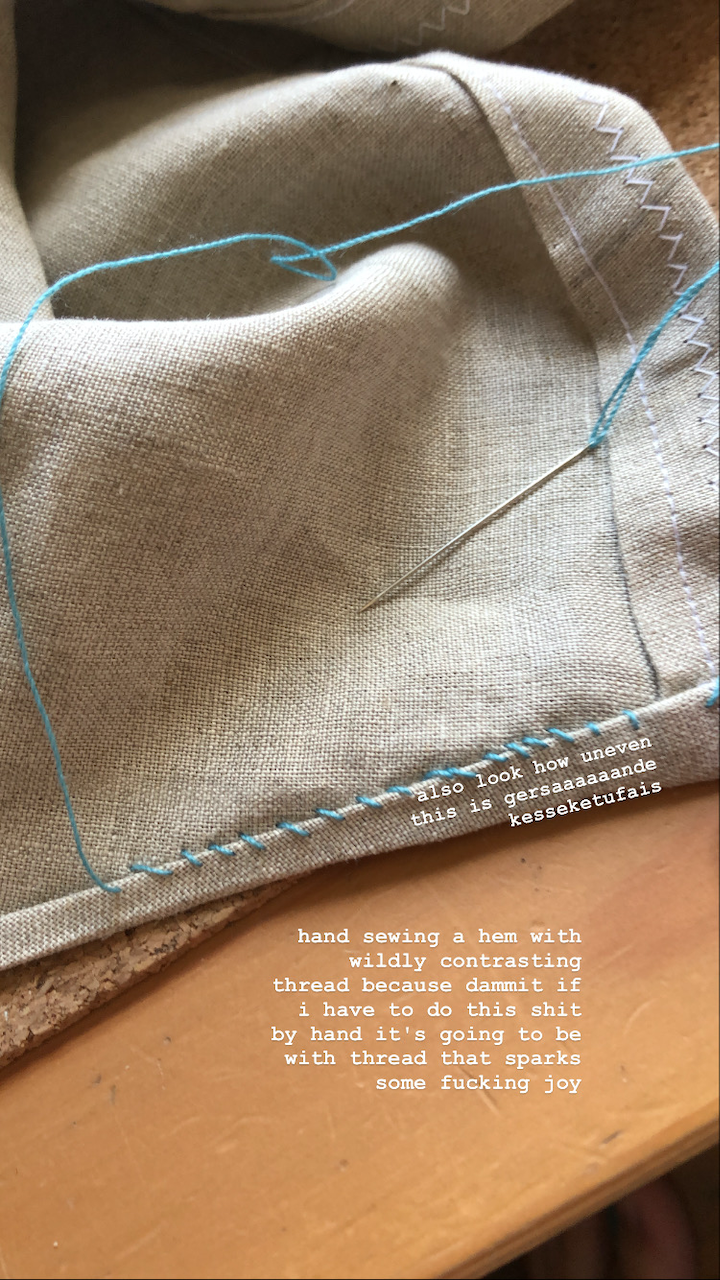
I then couldn’t figure out how to successfully hem a rounded edge with a sewing machine without making a huge mess, so I ended up looking up a few videos on YouTube for it. The stitches in this Bernadette Banner video on hand-felling hems were really useful for figuring out how to do something sturdy by hand. (I also found Bernadette Banner’s tutorial on hand stitching seams pretty useful as well!) In this, I mostly discovered that I am not much better at hemming by hand than by machine.
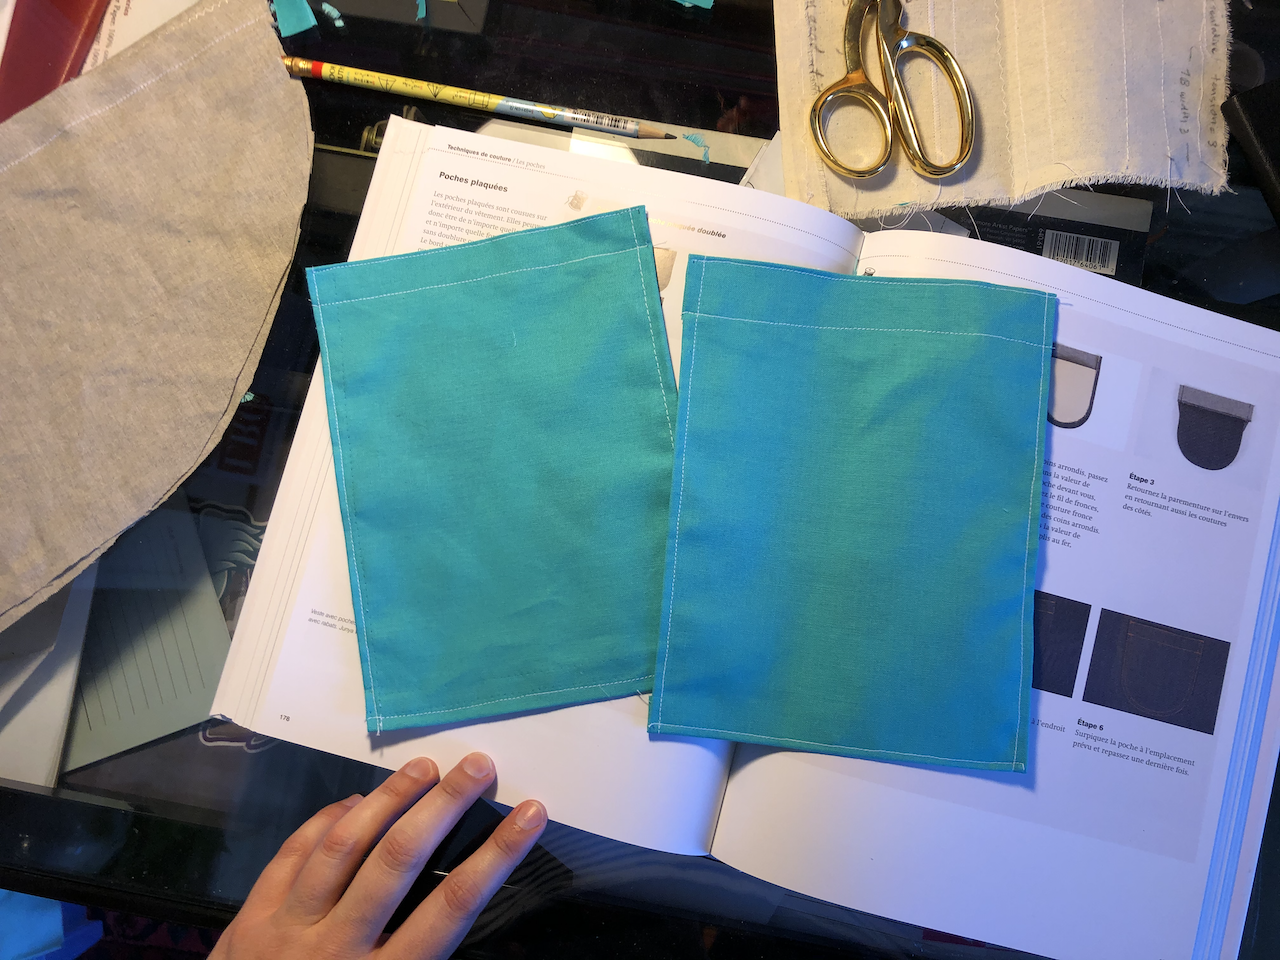
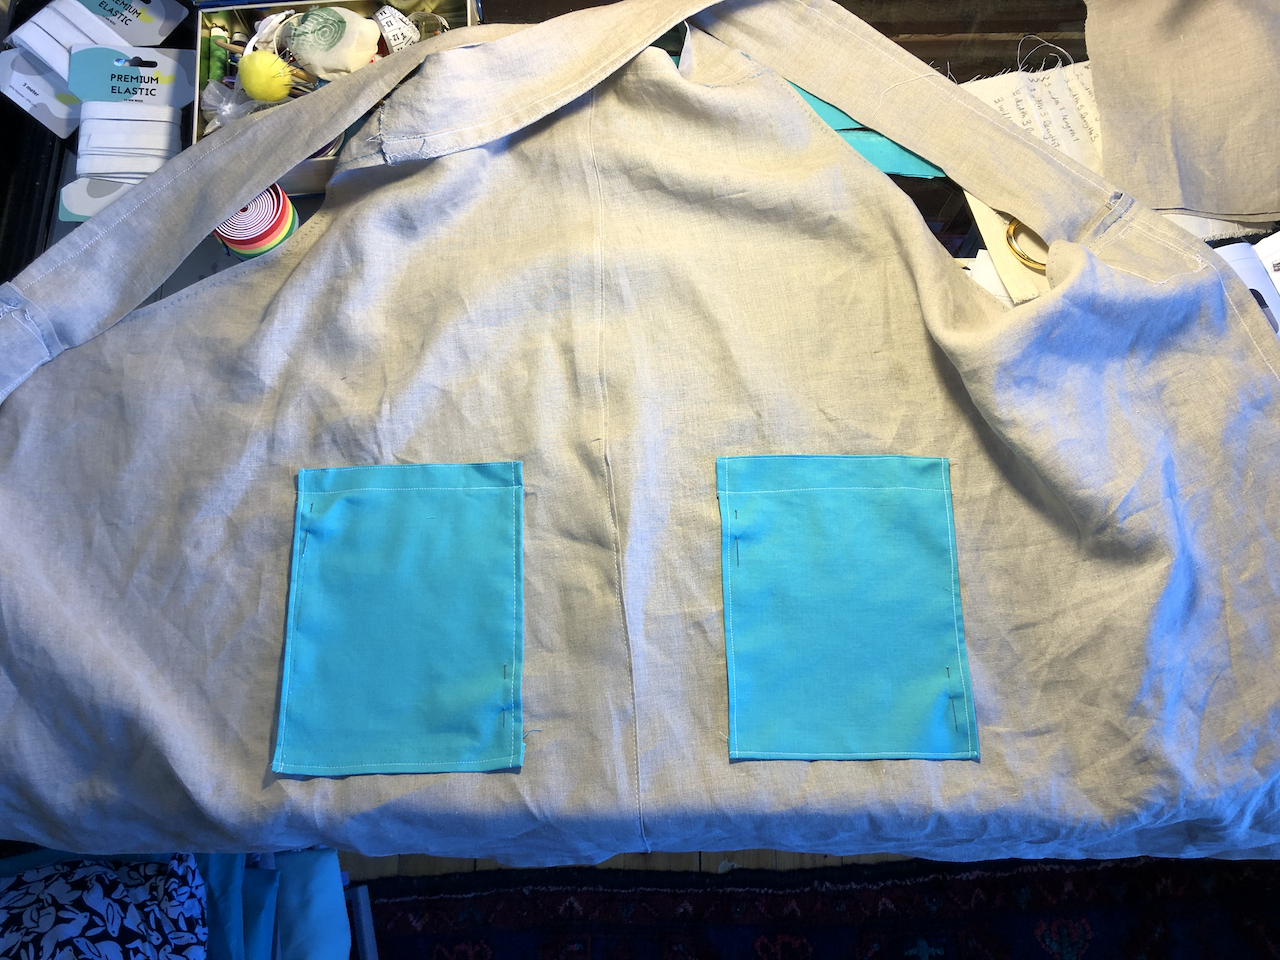
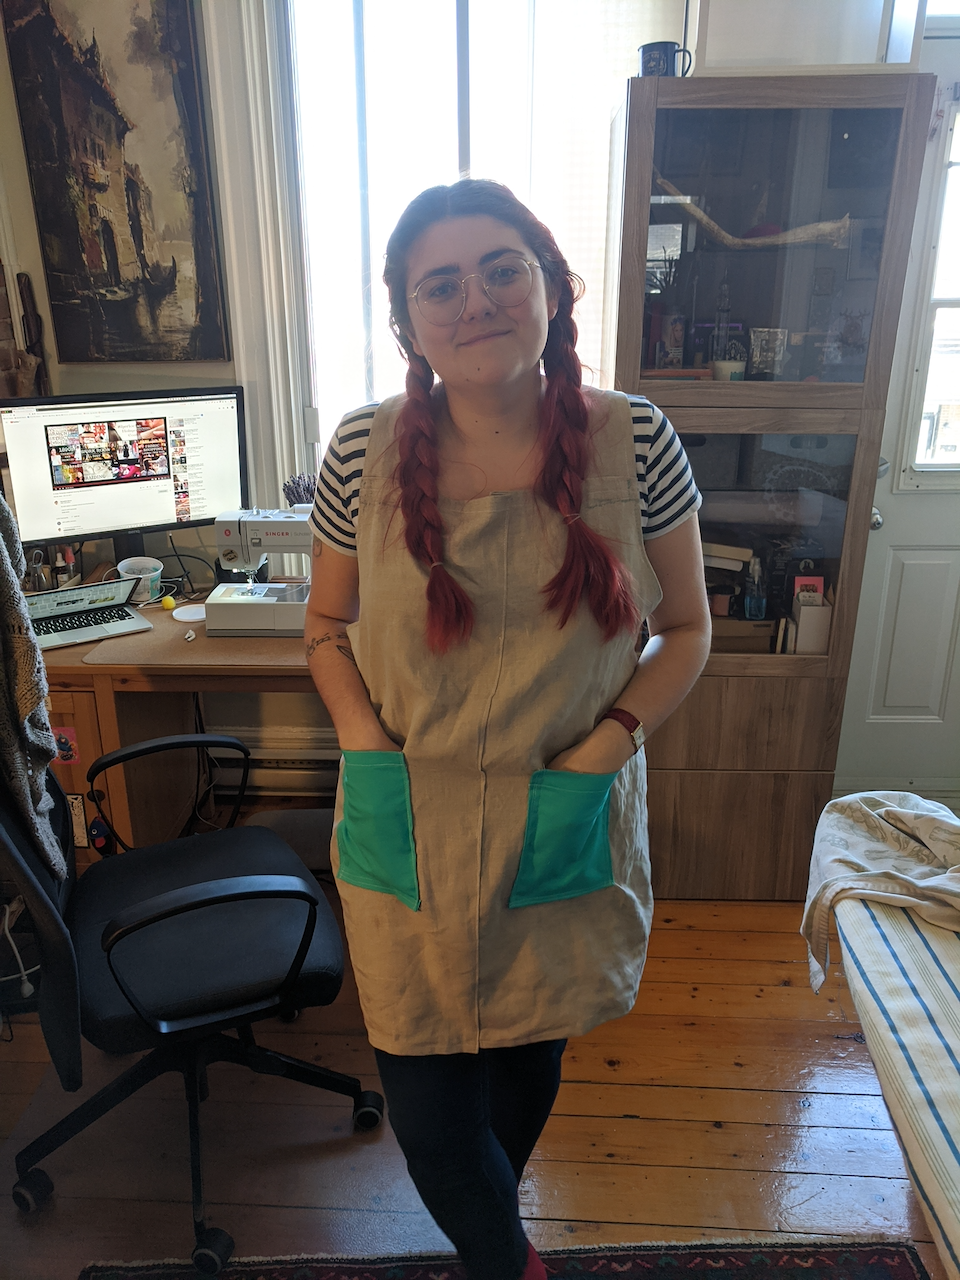
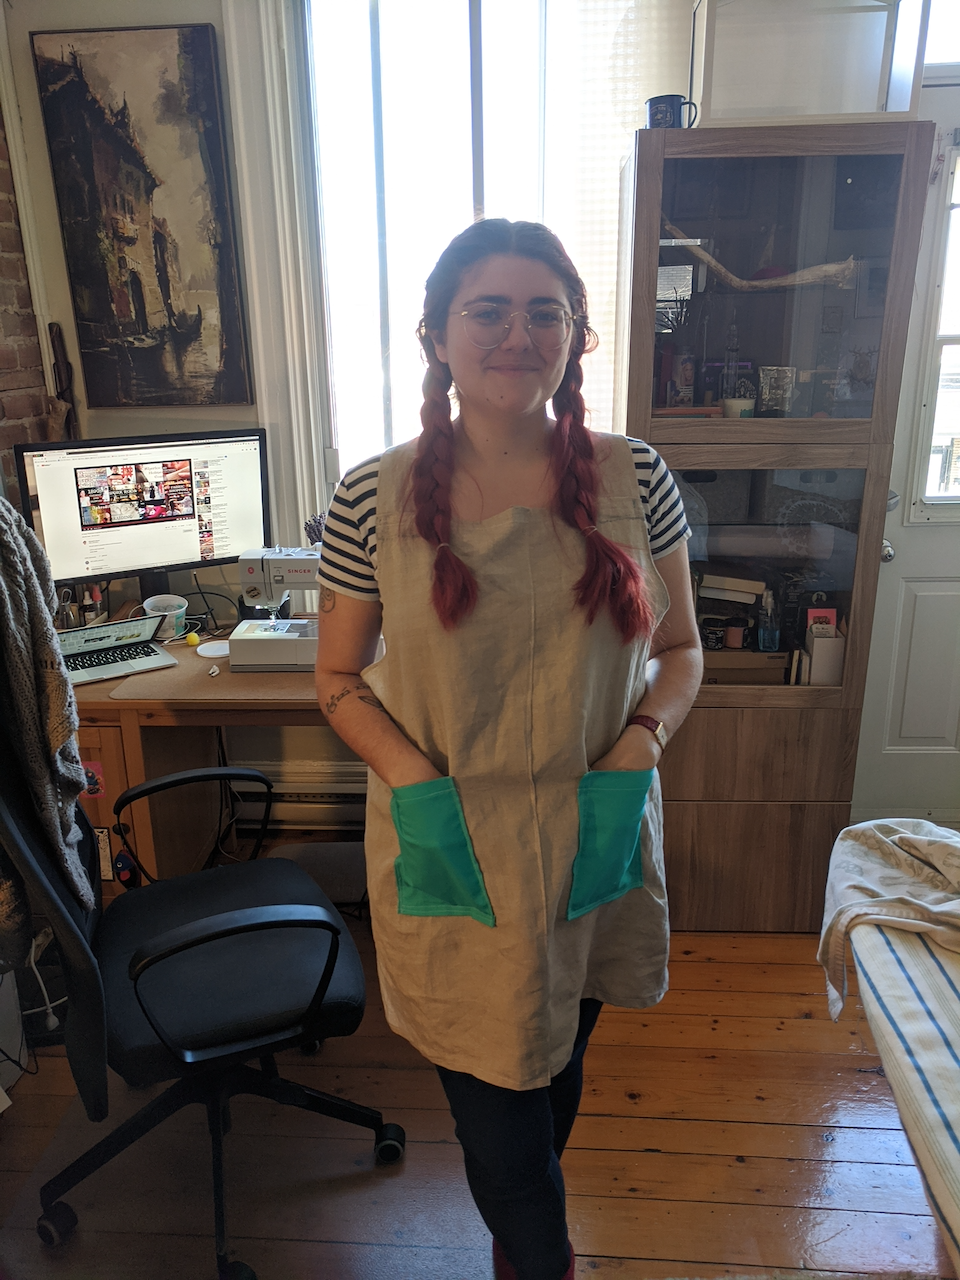
Following some instructions in my book*, I ended up figuring out how to make sure the straps attach solidly, and then went about on the business of making outside pockets. I did end up having a use for the light blue-green cotton for the outside pockets, and I found it added a really nice splash of colour on the otherwise really basic linen. I’m not super pleased with how the pockets’ stitching came out visually even though they’re surprisingly pretty sturdy.
Some thoughts now that I have a smock apron thing:
- Hand sewing: surprisingly meditative, kind of like crochet once you “get the hang of it” (spoiler alert: I do not have the hang of it). It’s surprisingly hard to sew by hand in a straight line and it’s even harder to get that straight line to go perfectly parallel to the seam or the hem, so that’s going to take practice. Also, I am really bad at threading needles.
- Ran into a ton of little problems trying to sew parallel or perpendicular lines with the machine, and had a hard time guiding the fabric without over-stretching it or pulling on the thread. A lof of the seams and hems look quite wonky as a result.
- I did not enjoy sewing with the cotton after the experience of sewing the woven linen, as the linen was actually quite rigid in comparison, and I made a lot of little silly mistakes on the cotton I thought I’d already figured out how to do with the linen. Hopefully they don’t show up too badly on the photos.
- Here are a few extremely vocabulary/technique-y things I had to learn for this project: what a seam was and why a hem is not the same thing as a seam, what the grain of the fabric means and why that matters, how to sew on a patch pocket (this feels subversive), how to sew on a strap, how to thread a needle because apparently there is a wrong way to do that, and also how not to sew a bunch of things together accidentally on a machine. :D
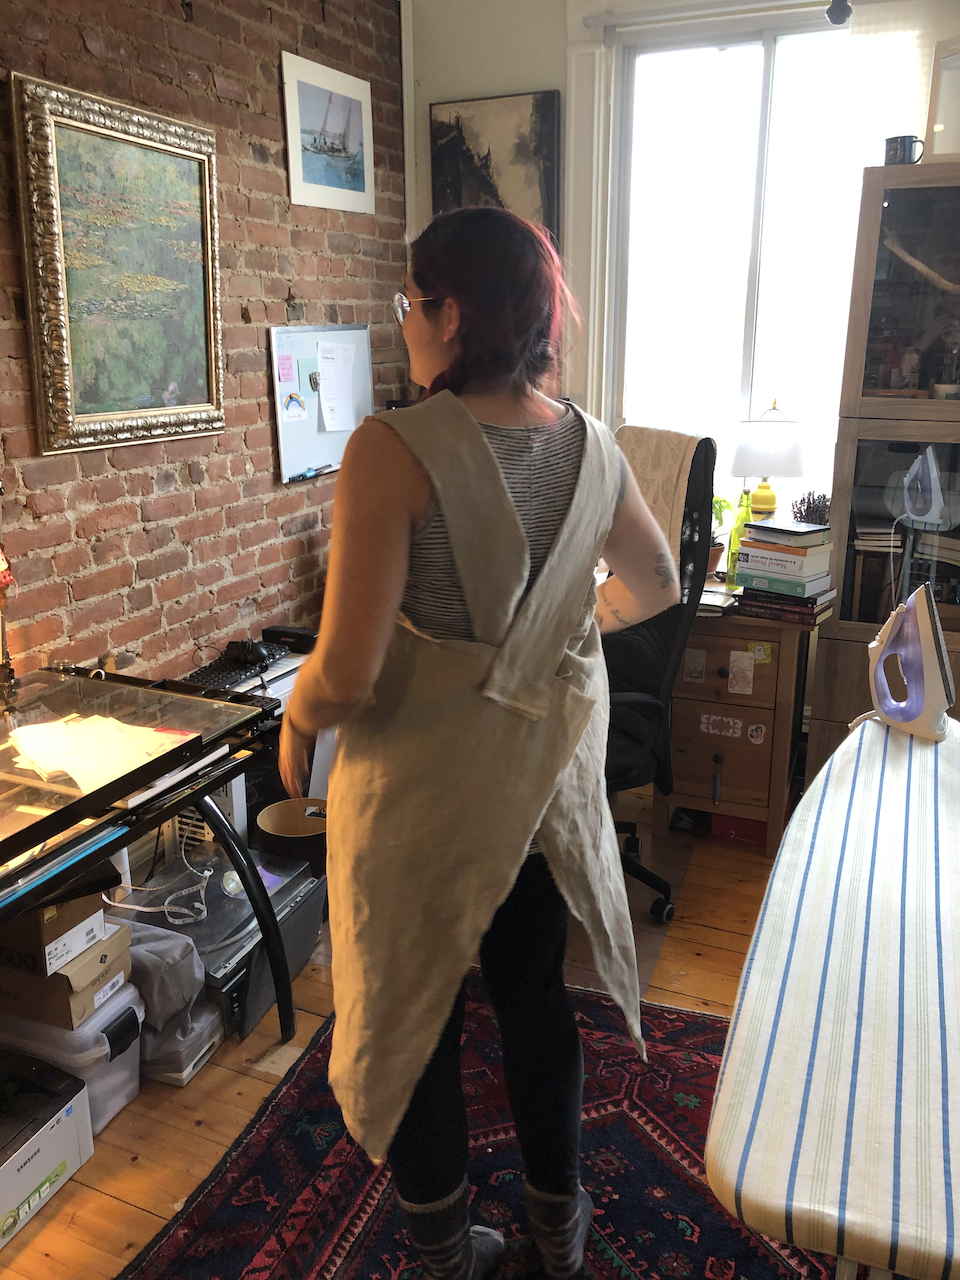
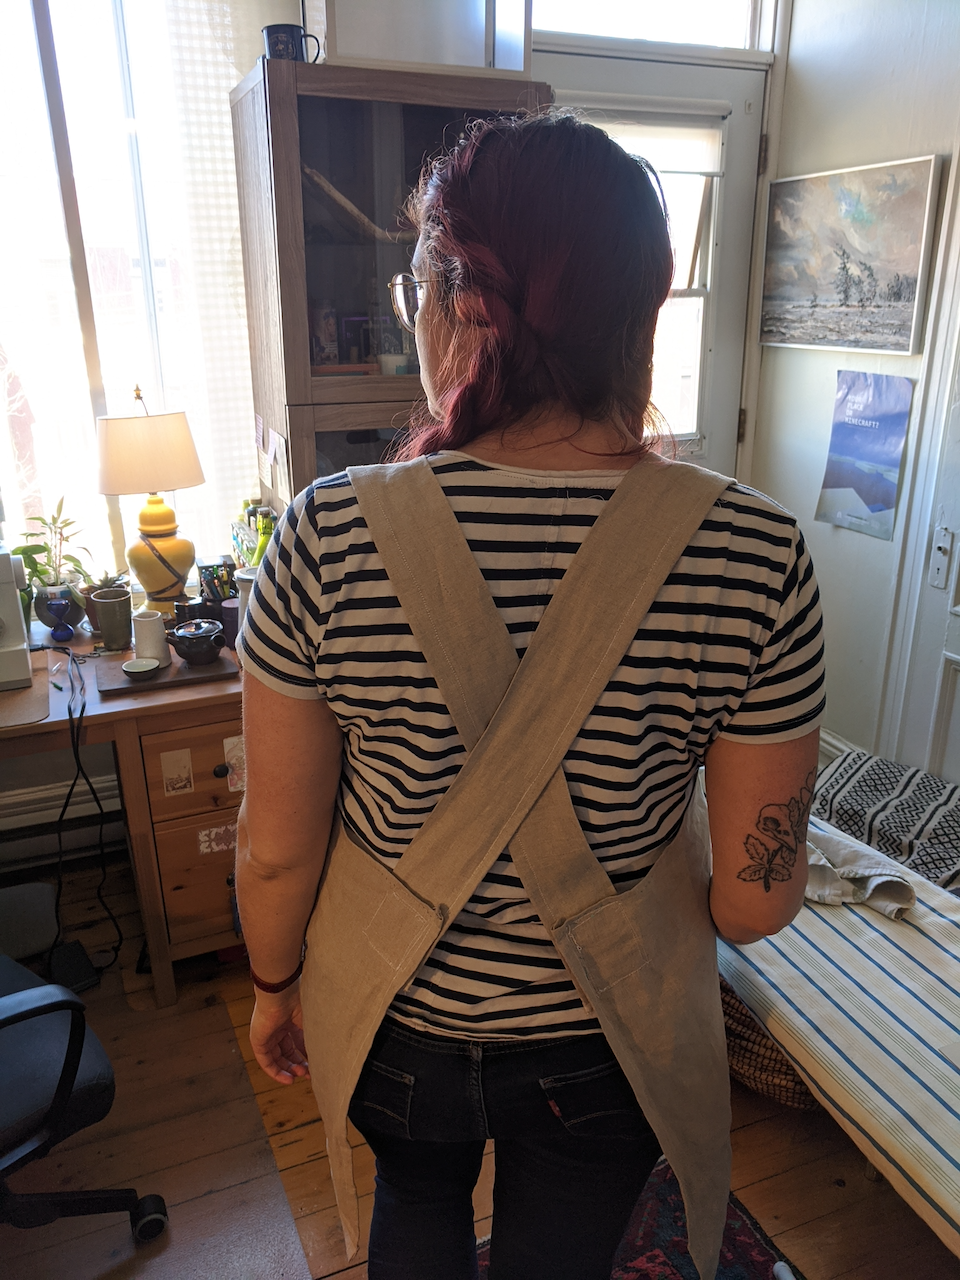
This is the first project I’ve been able to really wrap up since self-isolation started, and all things considered I’m pretty proud of it. And despite how rough it looks, it’s pretty sturdy and usable! So here are some pictures of me wearing the final result:
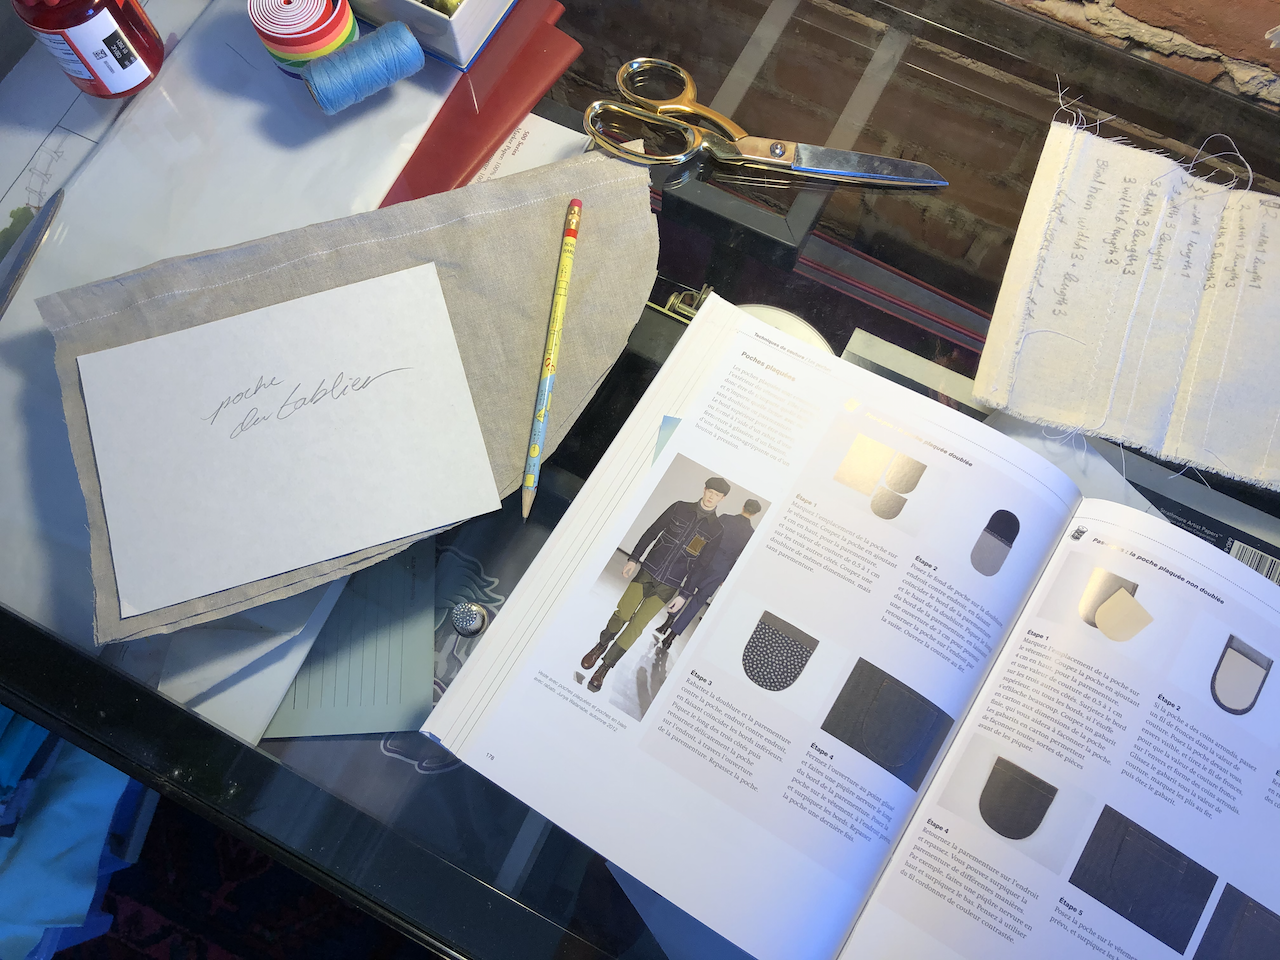
* Book: I’ve bought a copy of Anette Fischer’s La Bible de la Couture (originally Sewing for fashion designers) which I actually really like because it’s got tons of photos and illustrations, and a lot of explanations of basic things.